GL Advanced Police Job - ESX
Secure Checkout
Cards, Apple Pay, Google Pay, iDEAL/Wero, Bancontact, EPS, Przelewy24, and optional Crypto where available via Stripe.
Requires a FiveM server, ESX or QBCore, access to server resources, and permission to restart the resource after configuration.
Description
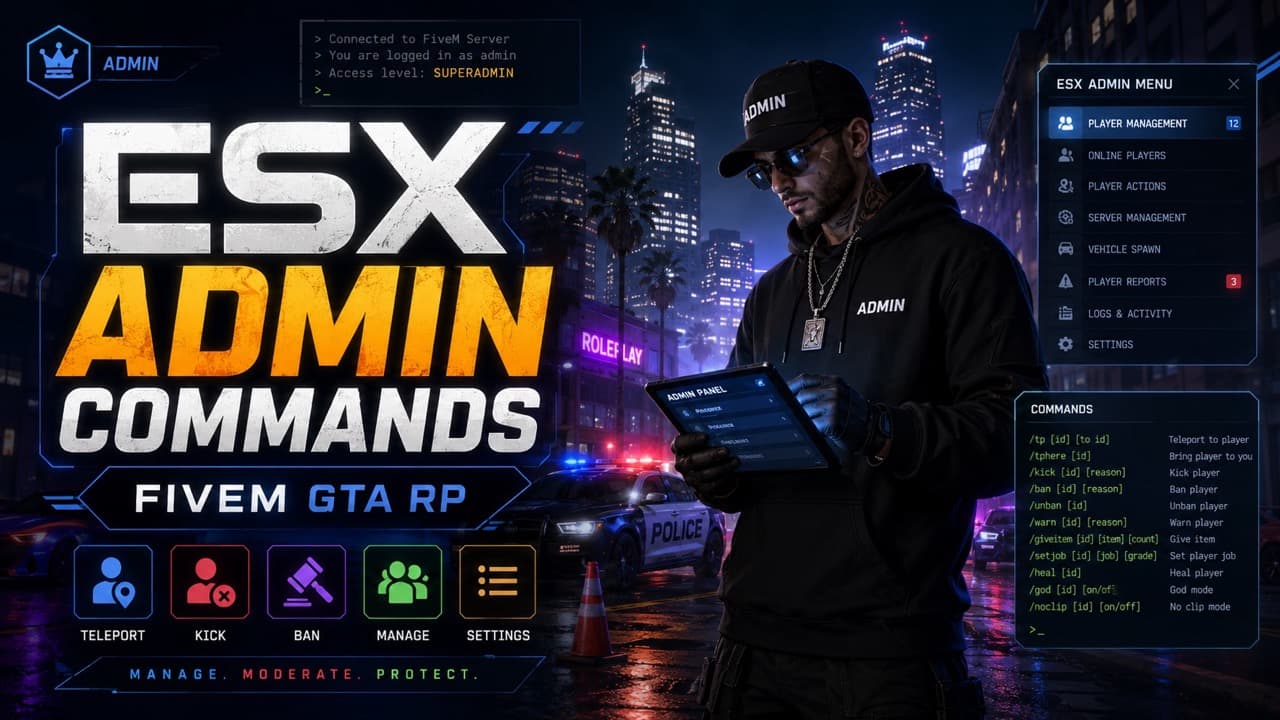
Advanced Police Job - Comprehensive Law Enforcement System for ESX
Transform your FiveM police department with Advanced Police Job for ESX, a complete law enforcement ecosystem that goes far beyond basic arrest mechanics. This sophisticated system introduces evidence collection, criminal investigations, comprehensive case management, vehicle pursuit tools, department hierarchies, and realistic police procedures. Whether running patrol operations or conducting complex investigations, this script provides the depth serious police roleplay demands.
Built specifically for ESX framework, this advanced police job system integrates seamlessly with existing police scripts while adding layers of investigative gameplay, evidence processing, report documentation, and departmental management tools that elevate law enforcement roleplay from simple combat encounters to professional police work.
What's Included
The Advanced Police Job system provides complete infrastructure for professional law enforcement operations. Officers gain access to evidence collection tools for processing crime scenes, investigation systems for building cases against suspects, pursuit management for vehicle chases, comprehensive arrest and booking procedures, detailed report writing systems, and department management features including ranks, promotions, and role-based equipment access.
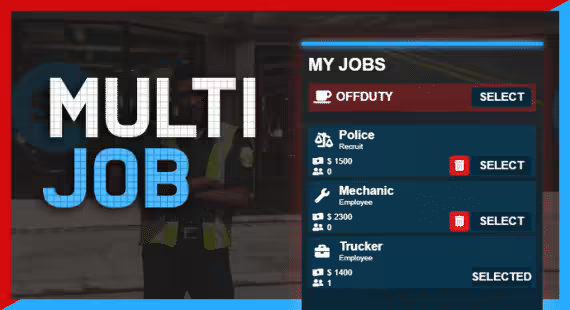
The system supports multiple law enforcement roles from street patrol officers to detectives, supervisors to specialized units. Each role receives appropriate tools and permissions, creating realistic departmental structure and career progression paths for police roleplay.
Key Features
- Evidence Collection System - Gather physical evidence at crime scenes including fingerprints, shell casings, blood samples, and items. Process evidence through forensic systems to build cases and identify suspects.
- Investigation Tools - Conduct detective work with case file systems, suspect tracking, witness statements, and investigation progression. Build comprehensive cases before making arrests.
- Advanced Pursuit Mechanics - Vehicle chase systems with spike strips, pursuit ratings, backup requests, and tactical intervention tools. Coordinate multi-unit pursuits with dispatch integration.
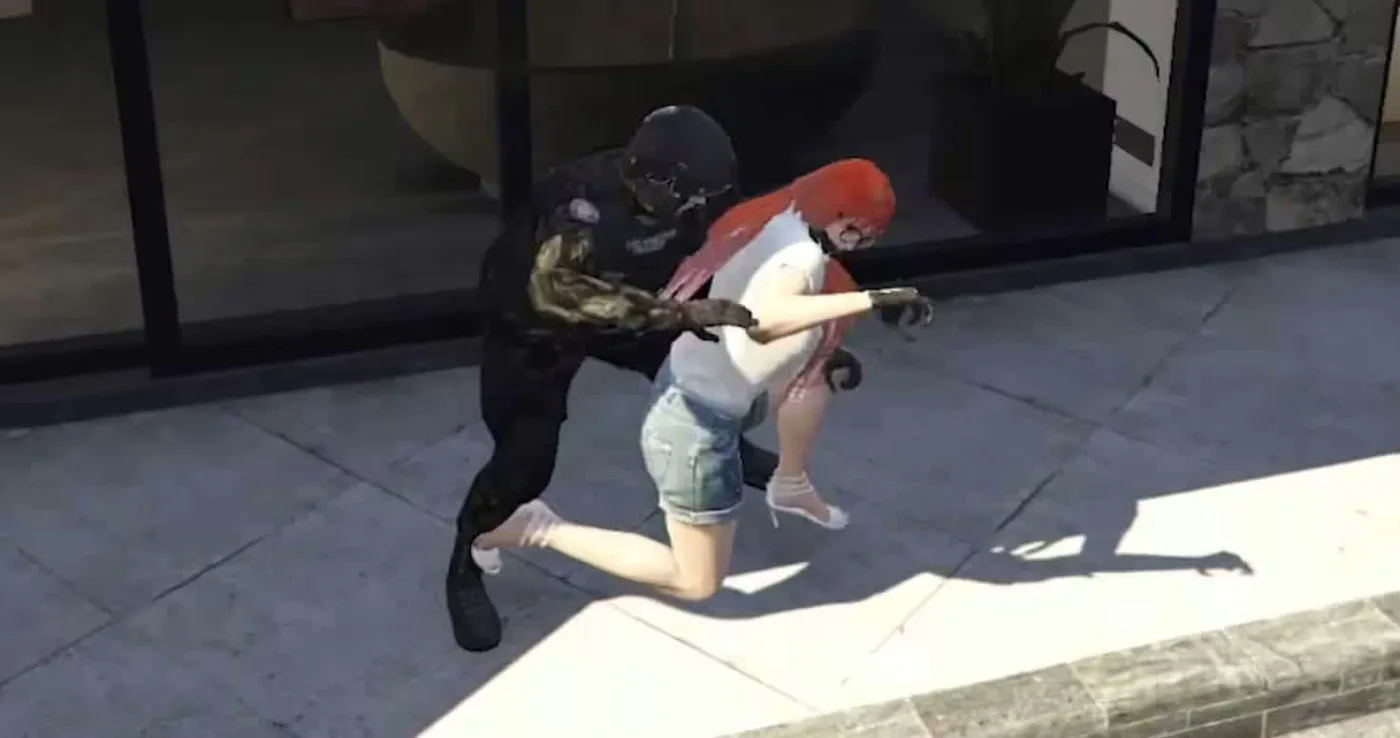
- Arrest and Booking Procedures - Realistic suspect processing including pat-downs, searches, Miranda rights, fingerprinting, mugshots, and jail intake. Document arrests with offense reports.
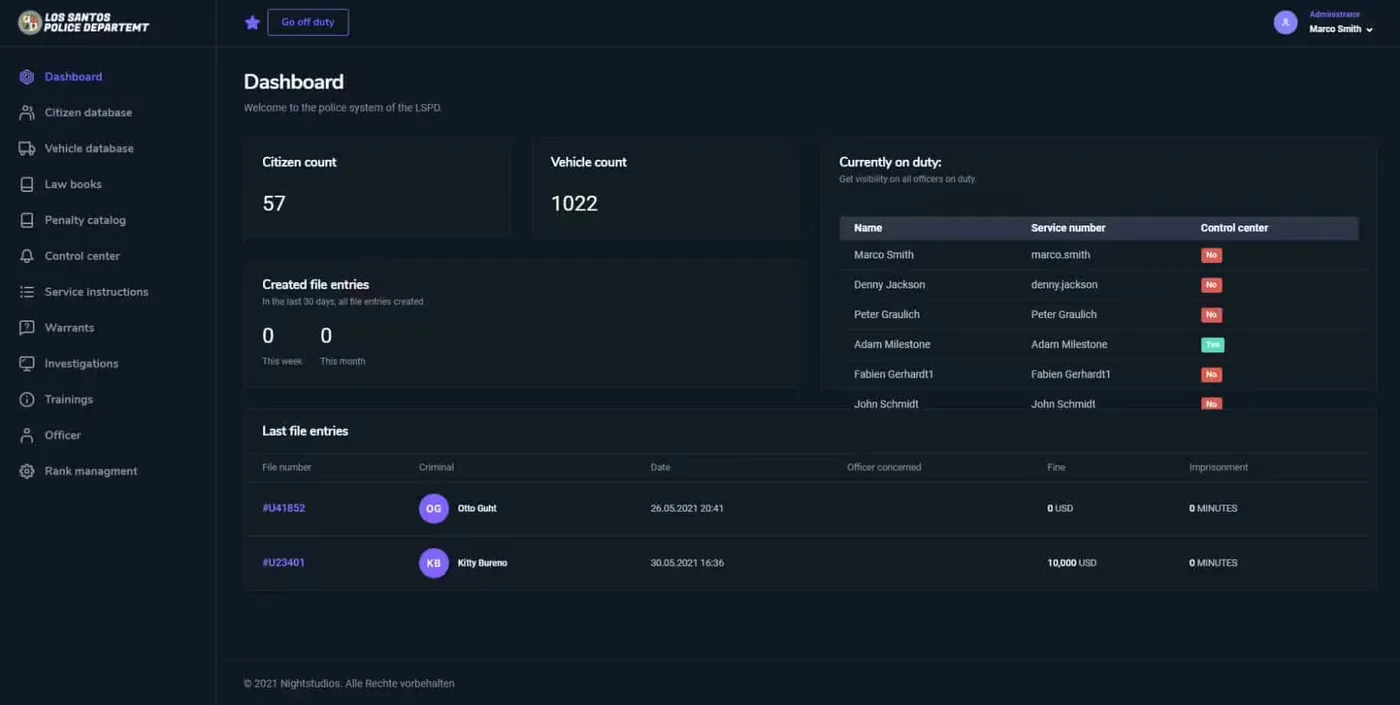
- Report Writing System - Create detailed incident reports, traffic citations, arrest reports, and investigation documentation. Maintain departmental records and case files.
- Department Hierarchy - Promotional ranks from cadet to chief with appropriate permissions, equipment access, and command authority. Support department organization and chain of command.
- Equipment Loadouts - Role-specific gear including weapons, tools, vehicles, and equipment based on rank and assignment. Different loadouts for patrol, detectives, SWAT, traffic units.
- Dispatch Integration - 911 emergency calls with location markers, priority systems, unit assignment, and response coordination. Manage emergency response operations.
- Warrant System - Issue and execute search warrants, arrest warrants, and court orders. Track wanted suspects and active warrants.
- Department Management - Supervisory tools for managing officers, reviewing reports, approving promotions, and overseeing department operations.
Perfect For
- Serious police roleplay servers prioritizing investigation and procedure
- Departments wanting depth beyond basic arrest-and-jail mechanics
- Servers with comprehensive justice systems including courts and prosecutors
- Communities supporting detective work, forensics, and case building
- Law enforcement departments with multiple specialized units and roles
- Servers emphasizing realistic police procedures and evidence-based policing
Technical Details
- Performance: Optimized for multi-officer operations with minimal performance impact
- Database Integration: Stores evidence, reports, warrants, and case files in MySQL
- UI System: Modern police interfaces for evidence, reports, and investigations
- Compatibility: Integrates with ESX society systems for department budgets
Framework Compatibility
- ✅ ESX - Built specifically for ESX framework with full integration
- ✅ ESX Police Jobs - Enhances and extends standard esx_policejob functionality
- ✅ ESX Society - Works with society systems for department funds and management
- ⚠️ QBCore - Designed for ESX, requires significant modification for QB framework
Installation and Setup
- Extract the resource to your server resources folder
- Import the SQL file to create evidence and report database tables
- Configure permissions and ranks in the config file
- Add the resource to your server.cfg startup
- Configure department loadouts, equipment, and vehicle access
- Set up integration with existing police and dispatch systems
What Makes It Stand Out
This isn't just another arrest script - it's comprehensive law enforcement infrastructure that transforms police work from simple combat into professional policing. The evidence collection and investigation systems create gameplay depth where officers must build cases, gather proof, and follow procedures rather than just shooting and jailing suspects.
The advanced features support detective roleplay with case files, witness interviews, and forensic analysis. Patrol officers gain pursuit management tools, traffic enforcement systems, and field reporting capabilities. Supervisors receive department management features for overseeing operations, reviewing officer performance, and maintaining departmental standards.
Where basic police scripts provide weapons and arrest commands, Advanced Police Job creates complete law enforcement careers with investigation mechanics, evidence processing, comprehensive reporting, departmental hierarchy, and realistic procedures. It's the foundation for serious police roleplay that goes beyond simple cop-vs-criminal combat.
https://www.youtube.com/watch?v=qmezyY_-vf8