okokCrafting (QBCore)
Secure Checkout
Cards, Apple Pay, Google Pay, iDEAL/Wero, Bancontact, EPS, Przelewy24, and optional Crypto where available via Stripe.
Requires a FiveM server, qbcore or qbox, access to server resources, and permission to restart the resource after configuration.
Description
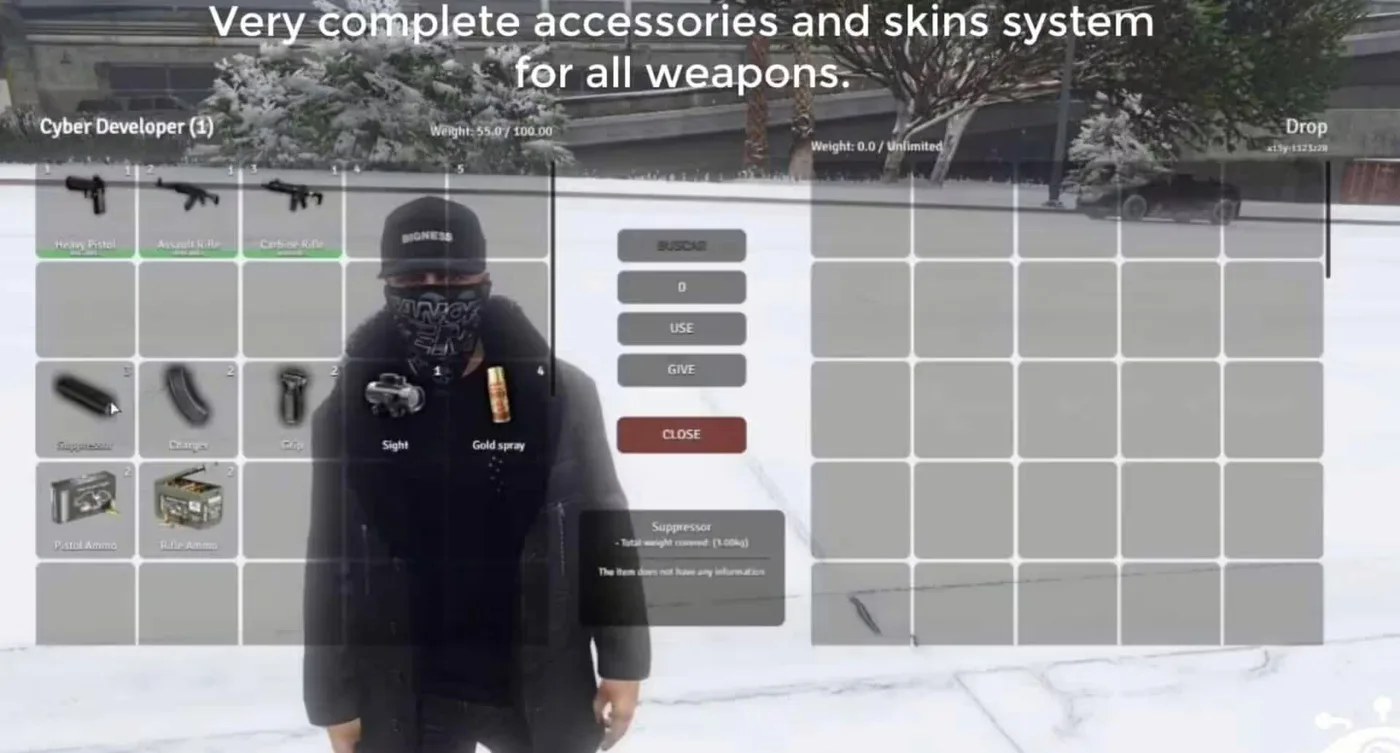
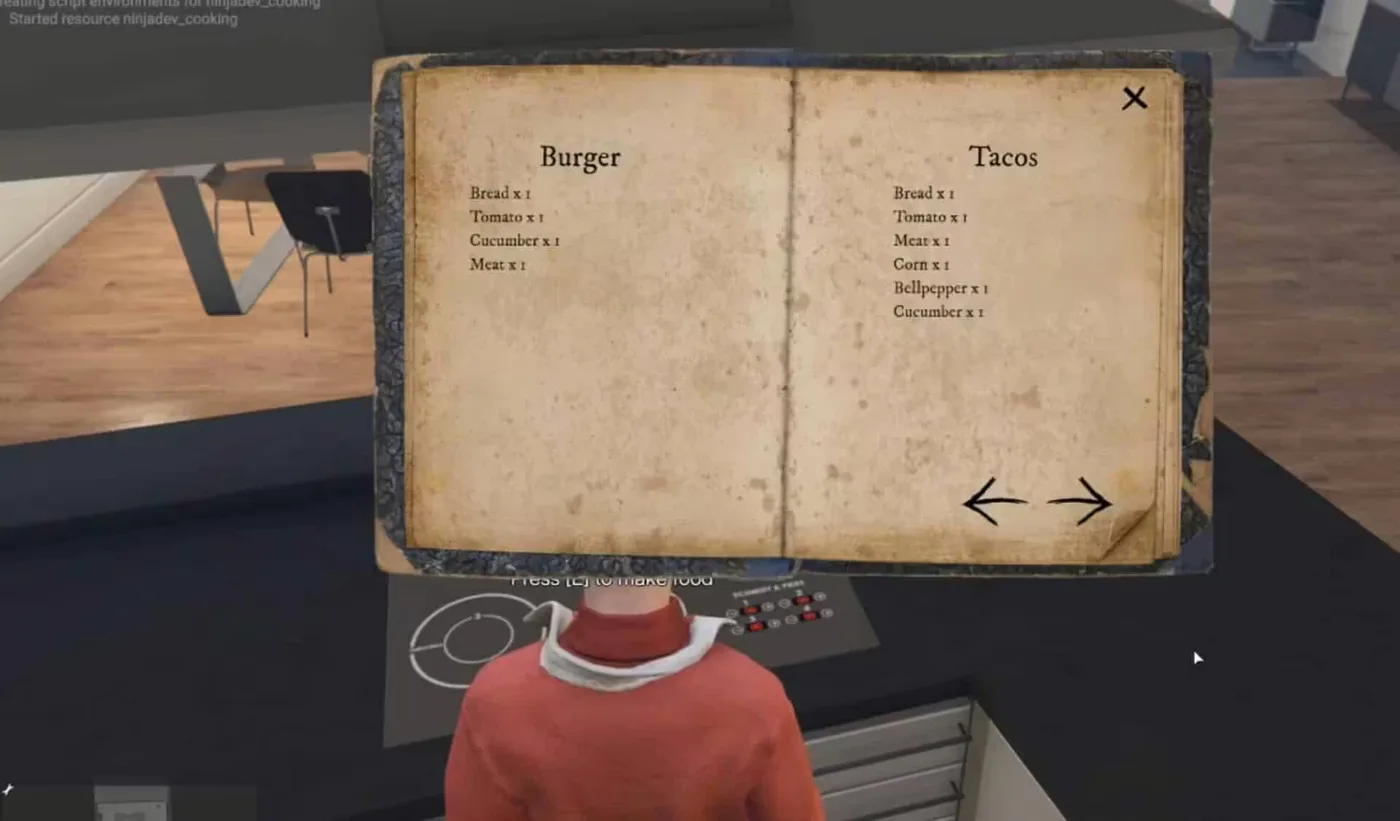
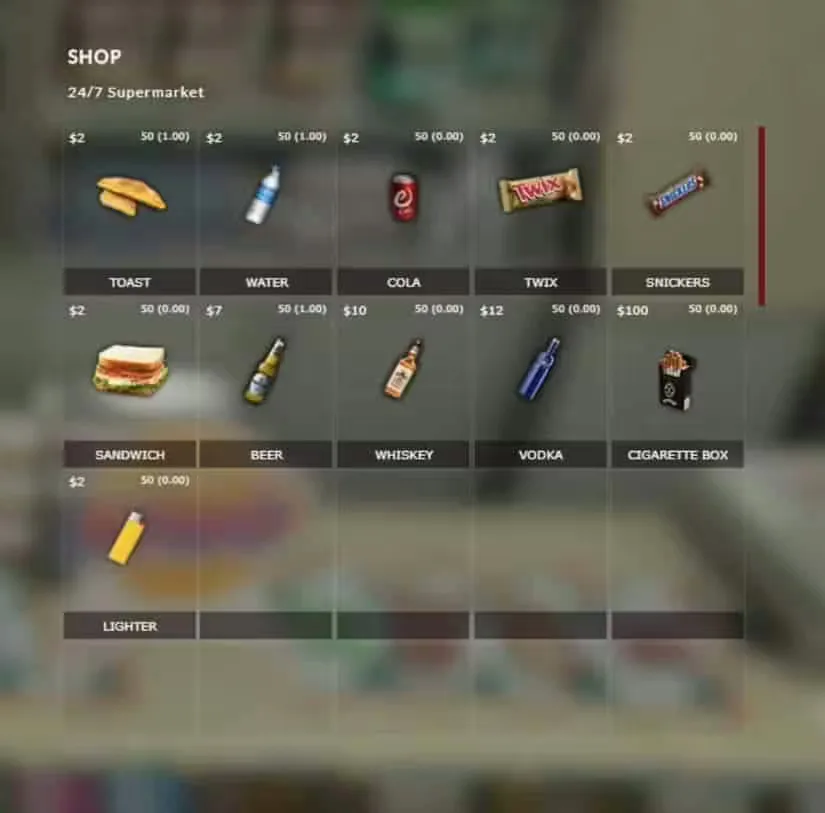
[Interface]
https://streamable.com/ze3brx
[How it works]
Informations:
- It contains a queue system (which means the player can start multiple craftings and simply wait near the blip marker until que queue is finished);
- You can add infinite items to a crafting table;
- An item can have infinite required components;
- When a player is crafting an item and leaves the crafting radius, the countdown timer will stop until he gets back in;
- Multiple checks have been made to prevent cheaters from getting items;
- It contains Discord logs such as (when a player starts to craft an item, when finishes the craft, when dies while crafting and when a cheater tries to call an event);
- When a player dies, all the components of the items that were in the crafting queue get back to his inventory;
- You can’t access the crafting menu while inside a vehicle;
- If you want to enable/disable it;
- The max level - players will still receive XP even if they had reach the max level (imagine that you want to change the max level and someone has millions of XP, their level will be updated);
- The first level XP;
- The level multipler, which is basically what makes it harder/easier to level up;
- If you want the players to receive XP when the craft fails.
In the config file you are able to set:
- If you want to use okokTextUI;
- What key opens the crafting menu;
- If you want the minimap to be hidden when opening the crafting menu;
- If you want the blips to be shown on the map;
- If you want the blip markers to be shown;
- The coordinates of the crafting tables;
- The interaction radius;
- The max craft radius (if you leave the crafting radius it will stop the crafting until you get back in);
- The far the blip marker is visible from;
- The blip name;
- The crafting table name.
To add an item to a crafting table you should set:
- The item name (which is the item ID);
- The amount you want the player to receive on crafting;
- The probability to successfully craft the item;
- If it’s an item or a weapon;
- The time it takes to craft it;
- The requirements/components, the quantity needed and if the player keeps it;
- What jobs can craft the item (you can leave it in blank if you want everyone to be able to craft it).
[Optimization]
This script is fully optimized.
- Idle: 0.00-0.01ms;
- Near blip marker: 0.03-0.04ms.
[Config]
Config.UseOkokTextUI = true -- true = okokTextUI (I recommend you using this since it is way more optimized than the default ShowHelpNotification) | false = ShowHelpNotification
Config.Key = 38 -- [E] Key to open the interaction, check here the keys ID: https://docs.fivem.net/docs/game-references/controls/#controls
Config.HideMinimap = true -- If true it'll hide the minimap when the Crafting menu is opened
Config.ShowBlips = false -- If true it'll show the crafting blips on the map
Config.ShowFloorBlips = true -- If true it'll show the crafting markers on the floor
Config.UseXP = false -- If you want to use the XP system or not
Config.MaxLevel = 20 -- Max level on the workbenches
Config.StartEXP = 100 -- First level XP
Config.LevelMultiplier = 1.05 -- How much the XP needed increases per level (1.05 = 5% | level 1 = 100 | level 2 = 205 | etc...)
Config.GiveXPOnCraftFailed = true -- If the player receives XP when he fails the craft of an item
Config.itemNames = { -- Format: id = label
weaponbarrel = 'Weapon Barrel',
WEAPON_ASSAULTRIFLE = 'Assault Rifle',
bp_WEAPON_ASSAULTRIFLE = 'Blueprint Assault Rifle',
weaponstock = 'Weapon Stock',
trigger = 'Trigger',
grip = 'Grip',
gunframe = 'Gun Frame',
spring = 'Metal Spring',
jewels = 'Jewels',
gold = 'Gold',
diamond = 'Diamond',
medikit = 'Medic Kit,
handcuffs = 'Handcuffs',
iron = 'Iron',
bandage = 'Bandage',
}
Config.Crafting = {
{
coordinates = vector3(-809.4, 190.3, 72.5), -- coordinates of the table
radius = 1, -- radius of the table
maxCraftRadius = 5, -- if you are further it will stop the craft
showBlipRadius = 50,
blip = {blipId = 89, blipColor = 3, blipScale = 0.9, blipText = Crafting}, -- to get blips and colors check this: https://wiki.gtanet.work/index.php?title=Blips
tableName = 'General', -- Title
tableID = 'general1', -- make a different one for every table with NO spaces
crafts = { -- What items are available for crafting and the recipe
{
item = 'WEAPON_ASSAULTRIFLE', -- Item id and name of the image
amount = 1,
successCraftPercentage = 75, -- Percentage of successful craft 0 = 0% | 50 = 50% | 100 = 100%
isItem = false, -- if true = is item | if false = is weapon
time = 6, -- Time to craft (in seconds)
levelNeeded = 2, -- What level he needs to craft this item
xpPerCraft = 5, -- How much XP he receives after crafting this item
recipe = { -- Recipe to craft it
{'bp_WEAPON_ASSAULTRIFLE', 1, false}, -- item/amount/if the item should be removed when crafting
{'weaponbarrel', 1, true},
{'weaponstock', 1, true},
{'trigger', 1, true},
{'grip', 1, true},
{'gunframe', 1, true},
{'spring', 2, true},
},
job = { -- What jobs can craft this item in this workbench
'police'
},
},
{
item = 'jewels', -- Item id and name of the image
amount = 3,
successCraftPercentage = 10, -- Percentage of successful craft 0 = 0% | 50 = 50% | 100 = 100%
isItem = true, -- if true = is item | if false = is weapon
time = 5, -- Time to craft (in seconds)
levelNeeded = 0,
xpPerCraft = 34,
recipe = { -- Recipe to craft it
{'gold', 12, true}, -- item/amount/if the item should be removed when crafting
{'diamond', 6, true},
},
job = { -- What jobs can craft this item in this workbench
''
},
},
{
item = 'medikit', -- Item id and name of the image
amount = 1,
successCraftPercentage = 100, -- Percentage of successful craft 0 = 0% | 50 = 50% | 100 = 100%
isItem = true, -- if true = is item | if false = is weapon
time = 4, -- Time to craft (in seconds)
levelNeeded = 1,
xpPerCraft = 50,
recipe = { -- Recipe to craft it
{'bandage', 4, true}, -- item/amount/if the item should be removed when crafting
},
job = { -- What jobs can craft this item in this workbench
''
},
},
{
item = 'handcuffs', -- Item id and name of the image
amount = 1,
successCraftPercentage = 10, -- Percentage of successful craft 0 = 0% | 50 = 50% | 100 = 100%
isItem = true, -- if true = is item | if false = is weapon
time = 3, -- Time to craft (in seconds)
levelNeeded = 0,
xpPerCraft = 5,
recipe = { -- Recipe to craft it
{'iron', 4, true}, -- item/amount/if the item should be removed when crafting
{'spring', 2, true},
},
job = { -- What jobs can craft this item in this workbench
''
},
},
},
},
}
-------------------------- DISCORD LOGS
-- To set your Discord Webhook URL go to server.lua, line 3
Config.BotName = 'ServerName' -- Write the desired bot name
Config.ServerName = 'ServerName' -- Write your server's name
Config.IconURL = '' -- Insert your desired image link
Config.DateFormat = '%d/%m/%Y [%X]' -- To change the date format check this website - https://www.lua.org/pil/22.1.html
-- To change a webhook color you need to set the decimal value of a color, you can use this website to do that - https://www.mathsisfun.com/hexadecimal-decimal-colors.html
Config.StartCraftWebhookColor = '16127'
Config.ConcludeCraftWebhookColor = '65352'
Config.AnticheatProtectionWebhookColor = '16776960'
Config.FailWebhookColor = '16711680'