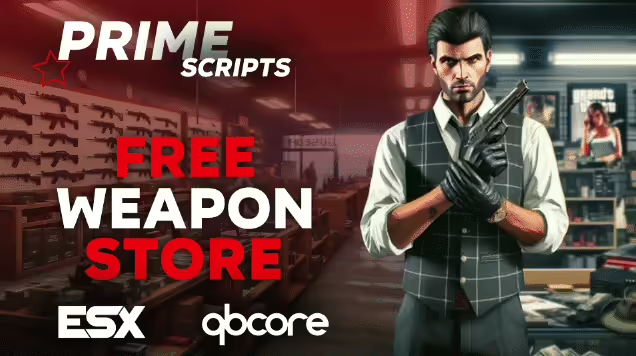
Menu da loja de armas

Você está procurando melhorar sua experiência de jogo com um menu de loja de armas elegante? O menu de loja de armas NativeUI Reloaded e baseado em ox_lib oferece uma interface amigável e visualmente atraente que permite que você acesse todas as suas necessidades de armas sem esforço. Aqui está tudo o que você precisa saber para colocar este mod em funcionamento!
O que você precisa saber
Esta arma comprar menu requer algumas dependências antes que você possa começar. Você precisará de:
- ESX
- NativeUI recarregado
- boi_lib
Certifique-se de tê-los instalados para garantir que o menu funcione corretamente.
Instruções de instalação
Configurar o menu da Loja de Armas é simples. Siga estes passos simples:
-
Baixe o Mod
Visite o GitHub para baixar o mod. Você pode encontrá-lo aqui: CentralSuck/primeWeaponshop. -
Extrair os arquivos
Após o download, extraia os arquivos da pasta ZIP baixada. -
Coloque os arquivos no seu servidor
Mova os arquivos extraídos para a pasta de recursos do seu servidor. Normalmente, você encontrará essa pasta localizada no diretório do seu servidor emrecursos. -
Atualize a configuração do seu servidor
Abra o arquivo de configuração do seu servidor (geralmente chamadoservidor.cfg) e adicione a linha:iniciar primeWeaponshopIsso garantirá que o menu da Loja de Armas seja carregado quando o servidor iniciar.
-
Reinicie seu servidor
Após salvar suas alterações, reinicie seu servidor. Isso inicializará o novo mod para você usar. - Acesse o Menu
Assim que seu servidor estiver instalado e funcionando, você poderá acessar o menu da loja de armas no jogo. Divirta-se navegando pelas suas novas opções de armas!
Apelo visual
Este menu não é apenas funcional; ele foi projetado para ser visualmente envolvente. Com navegação fácil e gráficos impressionantes, ele aprimora sua experiência no jogo.
Conclusão
Com o NativeUI Reloaded e o ox_lib baseado no Weapon Shop Menu, você pode elevar sua jogabilidade para o próximo nível. Seja você um jogador experiente ou novo na cena, este mod torna o acesso às armas mais fácil e agradável. Baixe-o hoje e veja a diferença por si mesmo!

bom dia, comente sobre l'install ?
oi tanguy,
Como instalar um mod FiveM
Baixe o Mod
Encontre o mod desejado em um site confiável, como os fóruns do FiveM ou seu site de modding favorito.
Baixe o mod como um arquivo ZIP, que contém todos os recursos necessários.
Extrair os arquivos
Use uma ferramenta como WinRAR ou 7-Zip para extrair o conteúdo do arquivo ZIP para uma pasta no seu computador.
Localize o diretório do seu servidor FiveM
Navegue até a pasta onde seu servidor FiveM está instalado. Ela deve conter diretórios como resources e server.cfg.
Adicione o Mod à pasta de recursos
Dentro da pasta do servidor, vá para o diretório de recursos.
Copie e cole a pasta mod extraída na pasta de recursos.
Edite o server.cfg
Abra o arquivo server.cfg com um editor de texto (por exemplo, Notepad++).
Adicione a seguinte linha na parte inferior para garantir que o mod seja iniciado:
texto simples
Copiar código
iniciar [nome-da-pasta-mod]
Substitua [mod-folder-name] pelo nome exato da pasta que você acabou de adicionar à pasta de recursos.
Reinicie seu servidor FiveM
Reinicie seu servidor FiveM para carregar o novo mod.
Após reiniciado, o mod ficará ativo no seu servidor.