Como criar seu próprio lançador FiveM

Welcome to the comprehensive guide on creating your own FiveM Launcher! Whether you are a seasoned developer or a complete beginner, this step-by-step tutorial will help you build a fully functional launcher for your FiveM server. With this guide, you’ll not only have a custom launcher but also a better understanding of the development process. Let’s start.
Introdução
A dedicated FiveM launcher enhances the user experience by providing a simple interface to connect to your server. This guide will show you how to create a launcher that will make joining your server a breeze.
Prerequisites – What You’ll Need
Before we start, make sure you have the following:
- Windows PC: The development will be done on a Windows platform.
- Visual Studio: Download and install it from aqui.
- .NET Framework: Ensure you have the .NET Framework installed, which you can get from aqui.
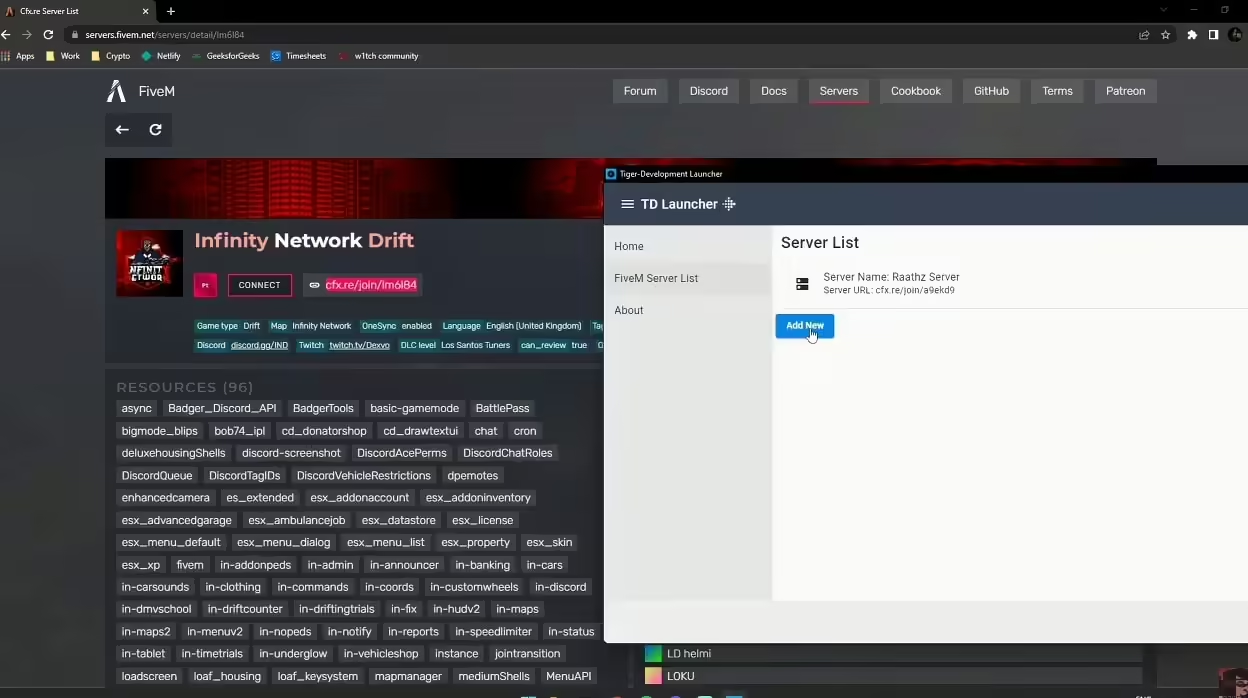
You could use the TDLauncher.exe to speed up the process. It’s free.
Configurando seu ambiente de desenvolvimento
Install Visual Studio
- Download Visual Studio: Visit the Visual Studio download page and get the installer.
- Install Visual Studio: Run the installer, select the workloads related to desktop development with .NET, and follow the on-screen instructions.
Verify .NET Framework
Ensure that the .NET Framework is installed on your system. You can verify this by opening Command Prompt and typing:
dotnet --version
If not installed, download and install it from the official .NET website.
Creating a New Project
- Open Visual Studio: Launch Visual Studio from your Start menu.
- Create a New Project:
- Click on Create a new project.
- Selecione Windows Forms App (.NET Framework) e clique Próximo.
- Provide a name for your project (e.g., “FiveMLauncher”) and choose a location to save it.
- Clique Criar.
Designing the Launcher Interface
- Form Designer: Once your project is created, you will see the Form Designer. This is where you design the user interface (UI) of your launcher.
- Adding Controls: Drag and drop the following controls from the Toolbox onto the form:
- Label: For the server IP prompt (e.g., “Server IP:”).
- TextBox: For the user to input the server IP.
- Button: For connecting to the server.
- Label: For displaying the connection status.
Example Layout
Organize the controls to look something like this:
-----------------------------------
| Server IP: [__________] [Connect] |
|                                   |
| Status: [Disconnected]            |
 -----------------------------------
You can adjust the properties of each control (like text, size, position) in the Properties window.
Adding Functionality
Connecting to the Server
- Event Handler: Double-click the Connect button to create an event handler for its click event. This will open the code editor.
- Code for Connection: Add the following code to handle the connection:
using System.Diagnostics;

private void ConnectButton_Click(object sender, EventArgs e)
{
    string serverIP = ServerIPTextBox.Text;
    if (!string.IsNullOrEmpty(serverIP))
    {
        Process.Start("fivem://connect/" + serverIP);
        StatusLabel.Text = "Connected";
    }
    else
    {
        MessageBox.Show("Please enter a server IP.", "Error", MessageBoxButtons.OK, MessageBoxIcon.Error);
    }
}
Explicação
- Process.Start: This method opens the FiveM client and connects to the specified server using the
fivem://connect/protocolo. - StatusLabel.Text: Updates the status label to show “Connected”.
- MessageBox.Show: Displays an error message if the server IP field is empty.
Building and Testing
- Save Your Work: Save all files by clicking Arquivo > Save All.
- Build the Project: Select Build > Build Solution from the menu. Ensure there are no errors.
- Run the Launcher: Imprensa F5 or click the Start button to run your launcher.
- Test the Connection: Enter a valid FiveM server IP in the text box and click the Connect button. FiveM should launch and connect to the specified server.
Distribution
To share your launcher with others, you’ll need to publish it.
- Publish the Project: Right-click your project in Solution Explorer e selecione Publish.
- Publishing Wizard: Follow the wizard to publish your launcher. You can publish it to a folder, FTP server, or directly to a website.
You’ll receive an .exe file that people need to download and run.
Important: Antivirus Exclusion
Some antivirus programs might flag the launcher as a potential threat. To avoid this:
- Open your Antivirus Program: Locate the settings for exclusions or exceptions.
- Add the Launcher: Add the executable file (
TDLauncher.exe) to the exclusion list.
Example for Windows Defender
- Abrir Windows Security.
- Vá para Virus & threat protection > Manage settings.
- Scroll to Exclusions e clique Add or remove exclusions.
- Clique Add an exclusion and select the launcher executable.
Troubleshooting and FAQs
Problemas comuns
- Launcher Doesn’t Start FiveM: Ensure the FiveM client is installed and the
fivem://protocol is correctly associated. - Error Messages: Double-check the server IP format. It should be in the correct format (e.g.,
192.168.1.1). - Antivirus Blocking: Ensure you’ve added the launcher to the antivirus exclusion list.
Perguntas frequentes
- Can I customize the launcher further? Sure, you can add more features like server status checks, news feeds, and custom themes. Design it with Visual++, for example.
Conclusão
You’ve successfully created a FiveM Launcher. This FiveM launcher (for servers) simplifies the process of connecting to your FiveM server, making it easier for your community to join. Feel free to customize and expand the launcher with additional features to enhance its functionality.
This tutorial is based on a free launcher created by LordTiger. If you prefer, you can download the pre-made launcher from the link provided.
If you enjoyed this tutorial and found it helpful, consider sharing it with others. Stay tuned for more guides and tutorials on enhancing your gaming and development experience!
