








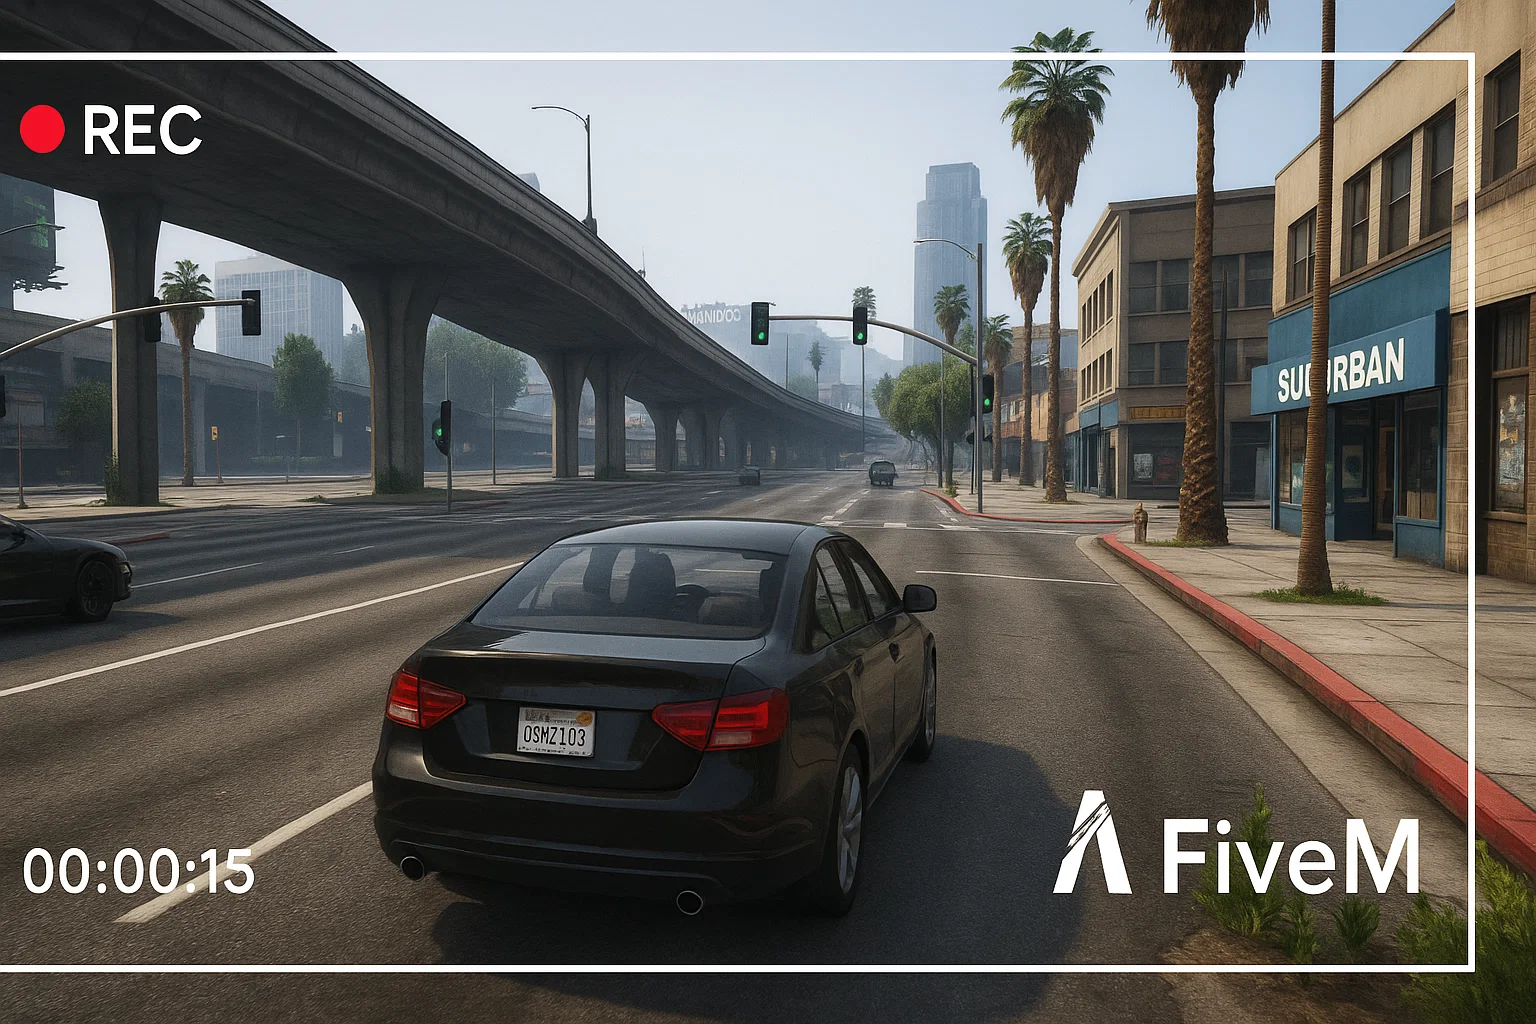
Recording FiveM gameplay is useful for support tickets, staff reports, server applications, content creation and saving roleplay highlights. The best setup depends on your PC, but the workflow is usually the same: capture the FiveM window, test game audio and microphone audio, record a short sample, then keep the files organized so you can find evidence later.
Recording options
- OBS Studio: best when you want control over scenes, microphone tracks, overlays, bitrate and output format.
- NVIDIA ShadowPlay: useful for quick highlights on supported NVIDIA GPUs.
- Windows Game Bar: simple for short clips when you do not want to configure a full recording setup.
- Server-side clips: useful for staff systems, but they do not replace a player’s local audio and perspective.
Best OBS setup for FiveM
For most players and staff teams, OBS is the most reliable option. Use game capture if it hooks correctly. If it shows a black screen, test window capture or display capture. Keep one scene for normal gameplay and one scene for evidence recording without decorative overlays. A clean recording is easier for staff to review than a clip with alerts, music and a covered minimap.
Audio checks before long sessions
- Record 20 seconds in a quiet area.
- Speak into your microphone and trigger in-game voice.
- Play back the clip and confirm game, voice and mic levels are balanced.
- Check that Discord, browser audio or music is not leaking into evidence clips if your server rules forbid it.
- Confirm the recording folder has enough disk space.
Recording for staff reports
If the clip is for moderation, keep it boring and complete. Show the lead-up, the incident and the aftermath. Do not trim away context that changes the meaning of the report. Save the time, server name, player IDs if visible and any related chat or ticket reference.
Performance tips
Recording can make a weak PC stutter. If FiveM becomes unstable while recording, lower resolution or frame rate first, then reduce graphics settings. If the server is already heavy, compare your FPS with recording on and off. For performance debugging, pair this guide with the FiveM FPS guide and the Resmon guide.
If you are new to the client itself, start with how to play FiveM before configuring a recording workflow.
File naming and storage
Use simple file names that include the server, date and reason for the clip. A folder full of files named “recording 1” is hard to review later. For staff teams, keep report clips separate from marketing clips and delete old footage when it is no longer needed for a ticket or appeal.
Privacy and server rules
Some communities restrict where clips can be posted, especially when they include voice chat, private Discord audio or staff-only information. Before uploading a public montage or report video, check the server rules. For staff evidence, share the smallest useful clip with the right team instead of posting raw recordings publicly.
Troubleshooting black screens
If OBS captures a black screen, test game capture, window capture and display capture in that order. Run OBS with normal permissions first, then check overlays, GPU selection and fullscreen/windowed modes. Do not change every setting at once; make one change, record a short sample and play it back.
Simple baseline settings
Start with a stable baseline before chasing perfect quality. Record at the resolution you actually play, use a frame rate your PC can hold, and avoid heavy overlays while testing. If your clip is for staff evidence, clarity matters more than cinematic color. If your clip is for YouTube or TikTok, make a separate scene for that purpose.
What to include in evidence clips
Useful evidence usually shows the player name or ID, the location, the event before the incident and the result after it. A five-second clip may miss context. A ten-minute raw recording may be too slow to review. Trim only enough to make the issue understandable, and keep the original file until the report is resolved.
For creator content, make a separate recording profile with music, overlays and higher visual quality. For staff work, keep the profile plain. Mixing both goals in one scene usually produces clips that are worse for both audiences.
Label those profiles clearly.