How to Install FiveM Mods: Step-by-Step Guide
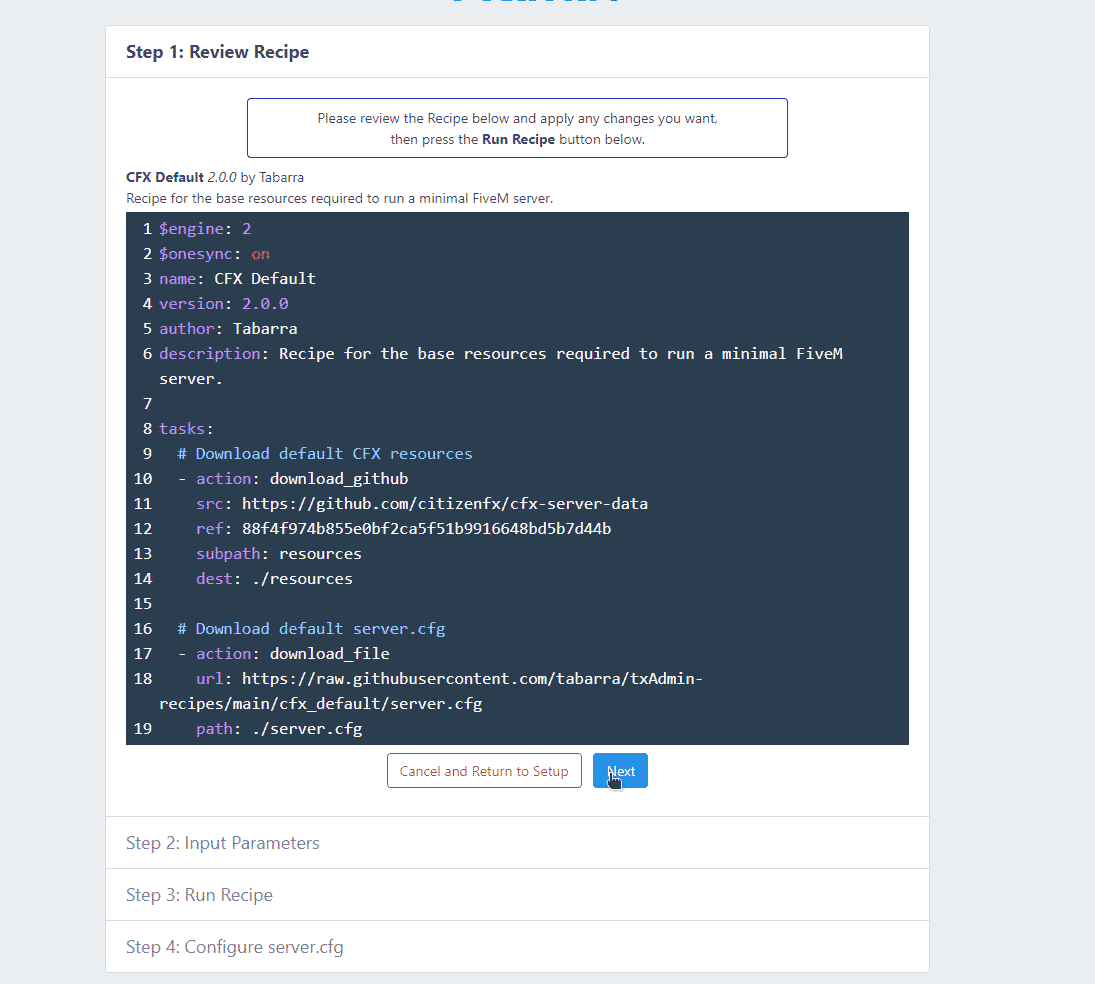
Installing FiveM mods is a breeze—just download the zip, drag the folder into your resources, and add its name to server.cfg. Then, restart your server and you’re ready to roll!

Staff handoff checklist
Before another admin touches this setup, leave a short handoff note with the resource folder name, the exact server.cfg line, the dependency order, and the account used for testing. Also include one expected in-game result, such as a menu opening, a command returning data, or a player spawning with the correct defaults. That makes future support faster because the next person can compare the current behavior with a known-good result instead of guessing from memory.
Pre-launch verification
Before you consider How to Install : Step-by-Step Guide complete, run it through a small staging checklist. Start the server with only the required dependencies, confirm the console stays clean, then add the surrounding resources one by one. This catches dependency mistakes earlier than a full production restart where dozens of resources start at the same time.
Use a clean player profile for the final check. A fresh profile reveals missing database defaults, missing inventory items, broken spawn logic, and permission mistakes that older admin accounts often hide. If the feature changes map streaming, vehicles, framework data, or server identity, also test one reconnect and one full server restart. Persistent state is where many FiveM setups fail after appearing correct in the first minute.
Keep the release note short and practical. Include the changed file, the affected resource, the test account used, the expected player-visible result, and the rollback command or file restore path. This is enough for another staff member to understand the change without reading the whole guide again.